¶ Lighting & Mesh Baker
¶ Mesh Baker
Mesh Baker is a nifty tool that allows us to merge duplicate objects into one single mesh. This allows us to reduce seams in the lightmaps and prevent that ugly ‘disco ball’ effect.
- In the hierarchy, right click > create other (near bottom) > mesh baker > mesh baker
- Once you have the mesh baker in the scene, select it and toggle the settings near the bottom: Clear Buffers after bake = true, Disable renderers on source objects (it will then say enable, which is correct)
- Duplicate this mesh baker as you will need several per scene.
- Work in chunks, knowing that only 3 lights can affect an object at once before you run into flickering.
- Select a set of objects with the same meshes. These should all be walls, ceilings, or something else frequently repeated.
- Drag them into a mesh baker under the “objects to be combined”
- Scroll to the bottom and click Bake. This should generate a CombinedMesh object in the hierarchy.
- Lastly, check that the mesh baker disabled all the mesh renderers on the original objects, else you will have z-fighting. Do this by clicking any of the original objects and checking that their renderers are disabled in the inspector.
- Congrats! Repeat steps 3-8 until all frequently repeated objects have been merged into larger objects, then you're ready to bake.
¶ Lighting
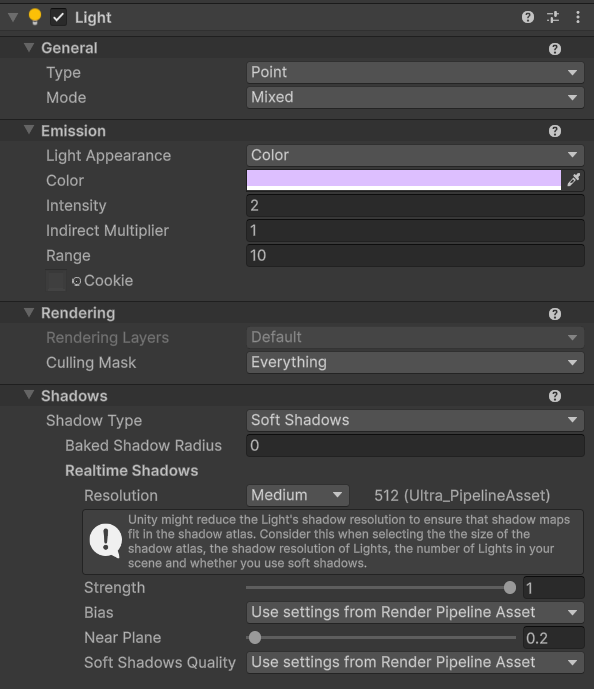
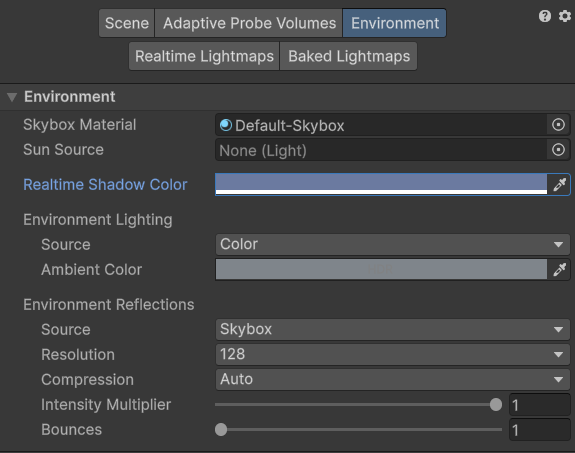
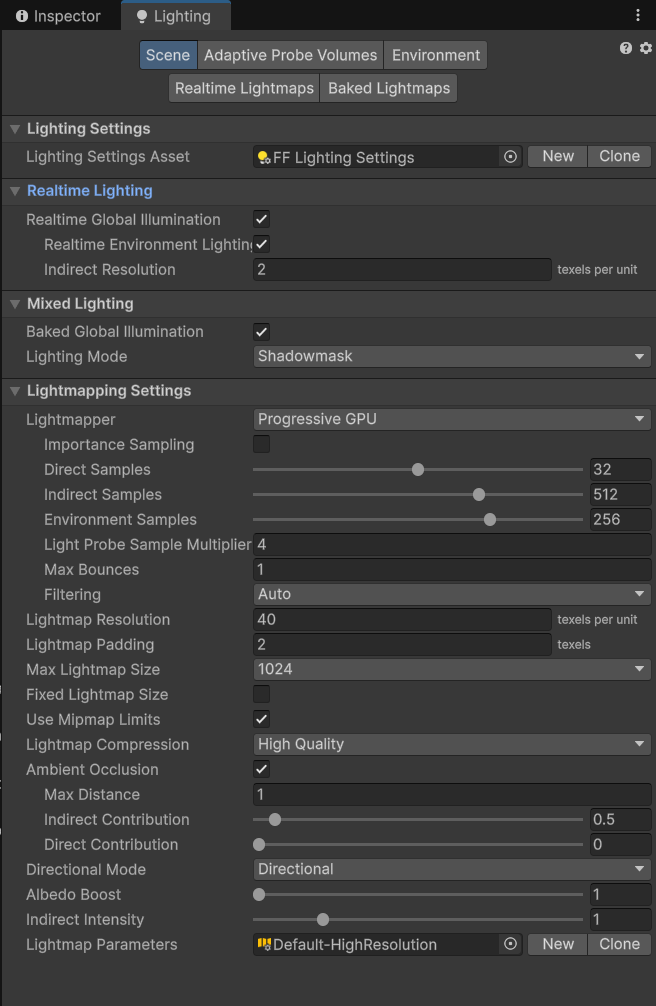
These are the settings used for the tutorial; on other character levels, you may want to alter the lighting colors. Once standards are set, those colors will be added here.
|
 |